The Crucial Role of Prep Work in Exterior House Painting: Why It Can Make or Break Your Project
Painting the exterior of your home is one of the most impactful and cost-effective ways to instantly boost curb appeal, protect your investment, and increase your home’s overall value. Whether you’re looking to refresh faded siding, cover up weather damage, or change the color scheme, a fresh coat of paint can completely transform the look and feel of your property, making it stand out in the neighborhood and reflect your style.
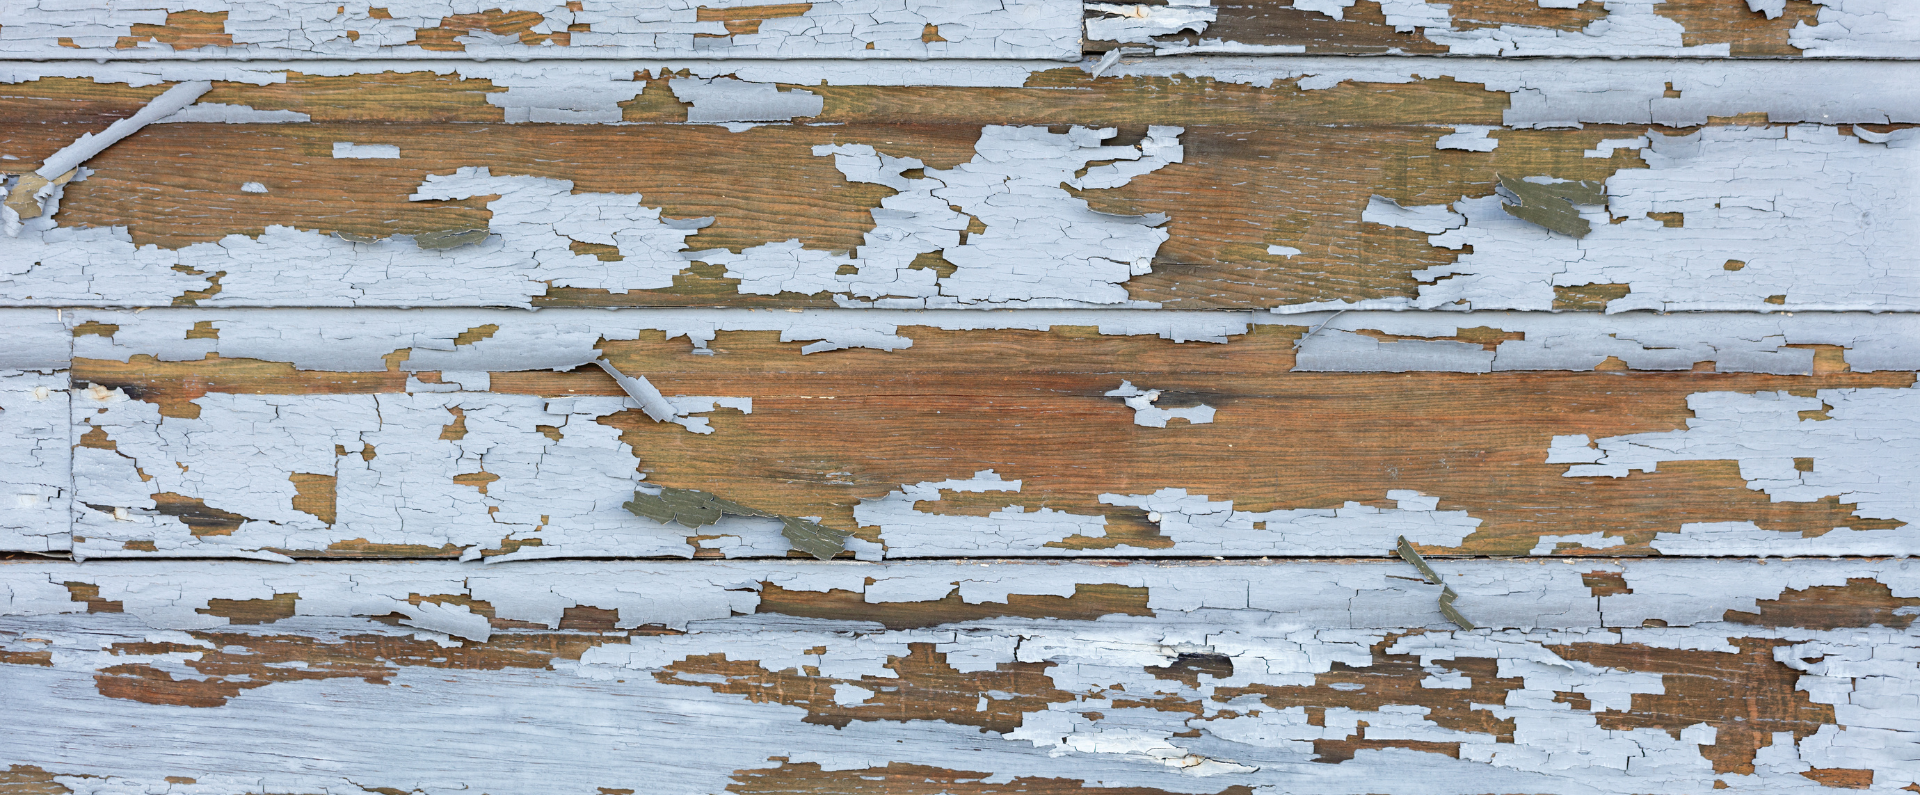
However, no matter how skilled the painter is or how premium the paint brand you choose, the secret to achieving a durable, beautiful, and flawless finish lies not just in the paint itself, but in one crucial—and often overlooked—phase of the process: prep work. Preparation is the foundation upon which the entire painting project is built. It involves a series of critical steps designed to clean, repair, and ready every surface so the paint will adhere properly and withstand the elements for years to come. Without proper prep, even the best paint job can fail prematurely, leading to peeling, cracking, or bubbling that can quickly undo your investment and create costly headaches.
In this blog, we’ll take a deep dive into why thorough and meticulous preparation is essential for every successful exterior painting project. We’ll explore the specific tasks involved in prepping your home’s exterior, highlight the consequences of skipping or rushing these steps, and provide practical advice on how to ensure your painter delivers the prep quality your home deserves.
By understanding the importance of prep work, you can make more informed decisions, avoid common pitfalls, and ensure your home’s new paint job remains stunning and protected for many years.
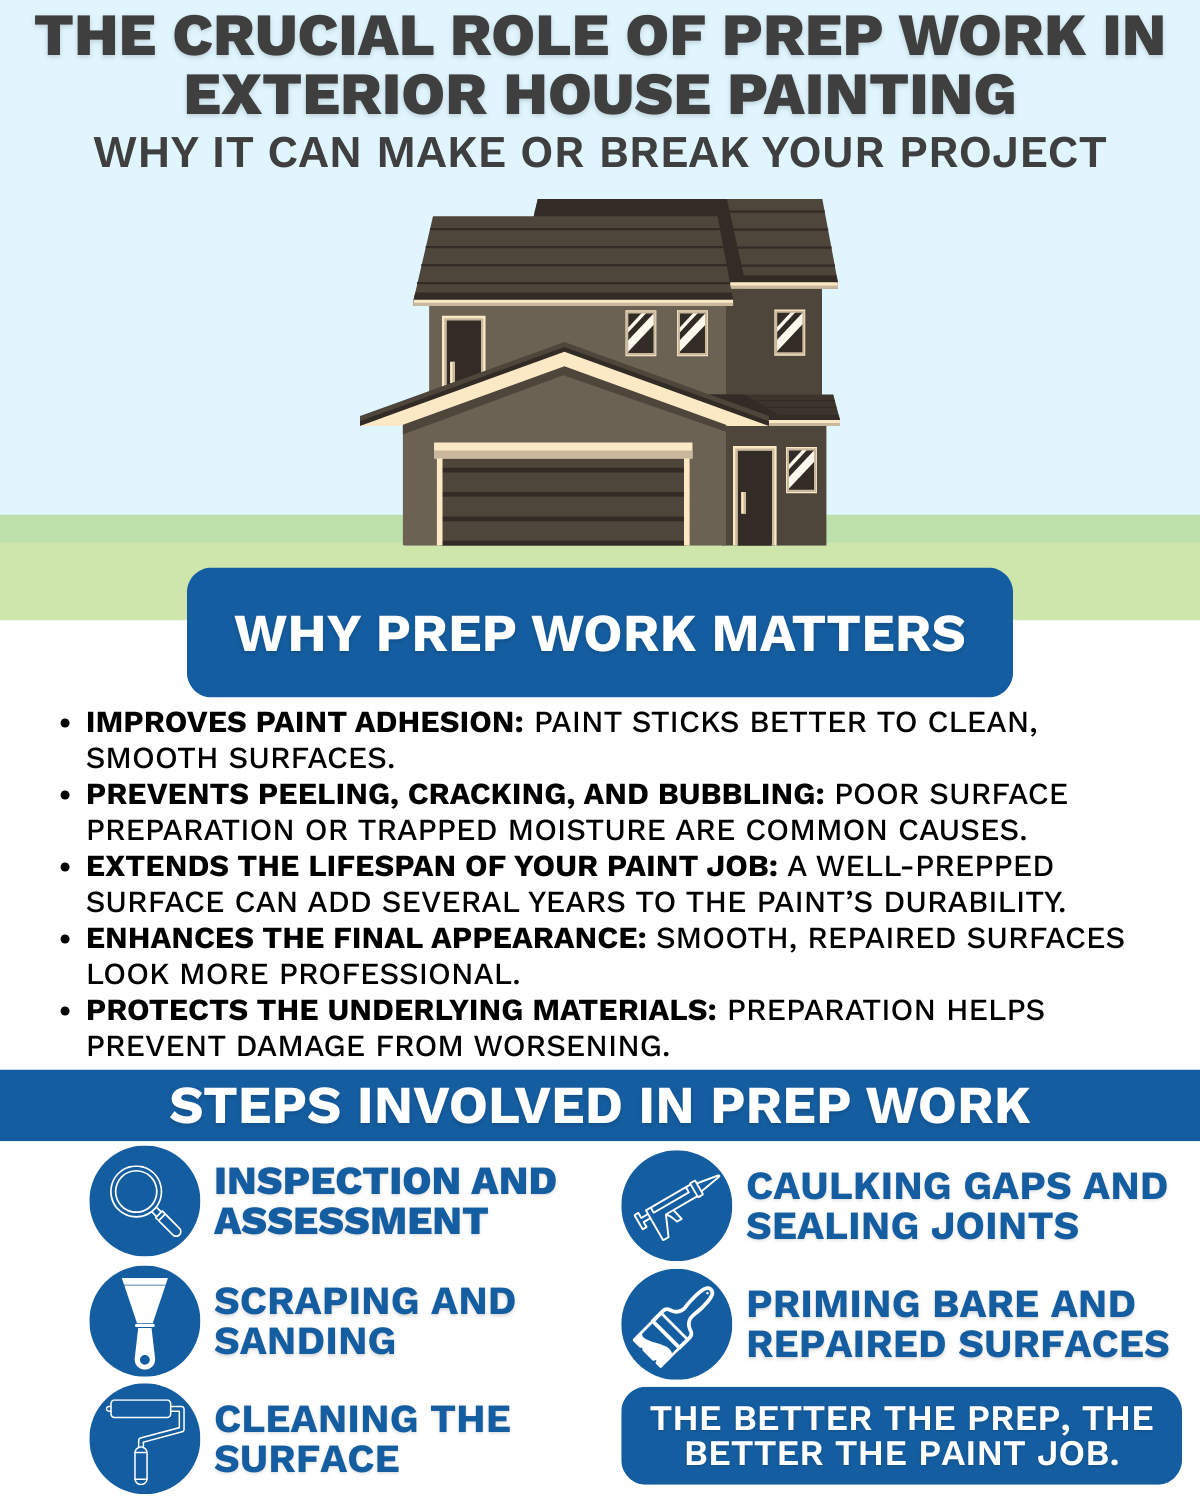
Why Prep Work Matters More Than You Think
Many homeowners focus solely on the color and finish of the paint, but proper preparation is what ensures that the paint will adhere properly, look even, and last for years against the elements. The exterior of a house faces constant challenges—UV rays, rain, wind, temperature fluctuations, insects, and pollution—all of which can cause paint to degrade over time.
Proper prep work:
- Improves paint adhesion: Paint sticks better to clean, smooth, and well-prepared surfaces.
- Prevents peeling, cracking, and bubbling: These issues are often caused by poor surface preparation or trapped moisture.
- Extends the lifespan of your paint job: A well-prepped surface can increase the longevity of paint by several years.
- Enhances the final appearance: Smooth, repaired surfaces result in a more professional and attractive finish.
- Protects the underlying materials: Prep includes repairing damage that could worsen if left untreated.
What Does Exterior Paint Prep Work Involve?
1. Inspection and Assessment
Before any painting starts, a thorough inspection of your home’s exterior is essential. The painter examines siding, trim, fascia, gutters, and any other painted surfaces to identify damage, such as:
- Cracks or holes
- Peeling or blistering paint
- Rot or mold
- Loose or damaged siding
- Caulk gaps around windows and doors
This step sets the stage for what repairs and preparation will be necessary.
2. Cleaning the Surface
Dirt, mildew, pollen, and grease can prevent paint from adhering correctly. Power washing is commonly used to remove these contaminants. This step is critical for:
- Removing loose dirt and dust
- Eliminating mold, mildew, and algae growth
- Clearing away old, flaking paint
Proper drying time after washing is also essential to ensure no moisture remains trapped under the paint.
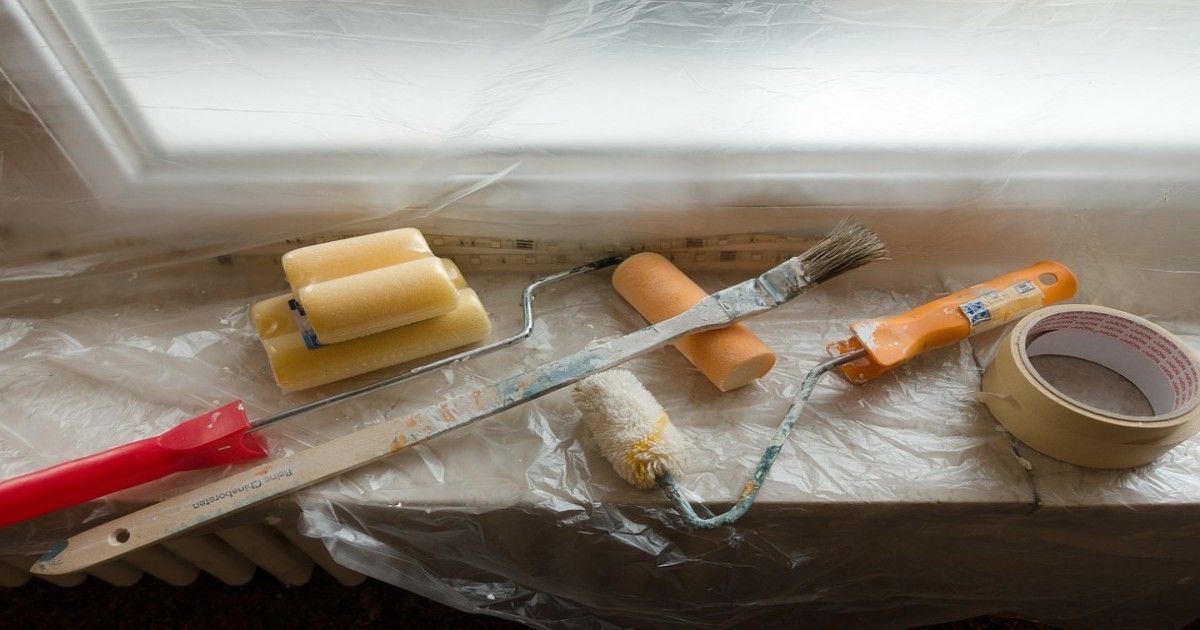
3. Scraping and Sanding
Loose, peeling, or cracked paint must be scraped off to create a smooth surface. Sanding helps feather edges where old paint meets bare wood or siding, reducing the risk of visible bumps or ridges after painting.
This step also helps roughen glossy surfaces, allowing the new paint to adhere better.
4. Repairing and Replacing Damaged Areas
Any damaged siding, rotten wood, or cracked trim should be repaired or replaced before painting. Fill cracks and holes with high-quality filler or wood putty and sand smooth once dry. Failing to address these repairs can lead to premature paint failure and costly future damage.
5. Caulking Gaps and Sealing Joints
Gaps around windows, doors, siding seams, and trim should be sealed with exterior-grade caulk. This prevents water intrusion, air leaks, and insect entry, protecting both your paint job and home structure.
6. Priming Bare and Repaired Surfaces
Bare wood, metal, or repaired areas should always be primed before painting. Primer seals porous surfaces and provides a uniform base for paint, improving adhesion and durability. Many paints include primer, but in cases of bare wood or heavy repairs, a dedicated primer coat is essential.
The Risks of Skipping or Rushing Prep Work
Skipping prep work or trying to speed through it is a false economy. Here’s what can happen:
- Peeling and blistering paint: Paint applied over dirt, moisture, or loose paint will fail quickly.
- Uneven color and texture: Without sanding and proper surface smoothing, paint can look patchy.
- Moisture damage: Unsealed cracks or gaps let water in, leading to rot and mold.
- Reduced lifespan: You’ll need to repaint sooner, increasing costs and inconvenience.
- Poor curb appeal: A rushed job looks sloppy and detracts from your home’s value.
How to Ensure Quality Prep Work on Your Exterior Painting Project
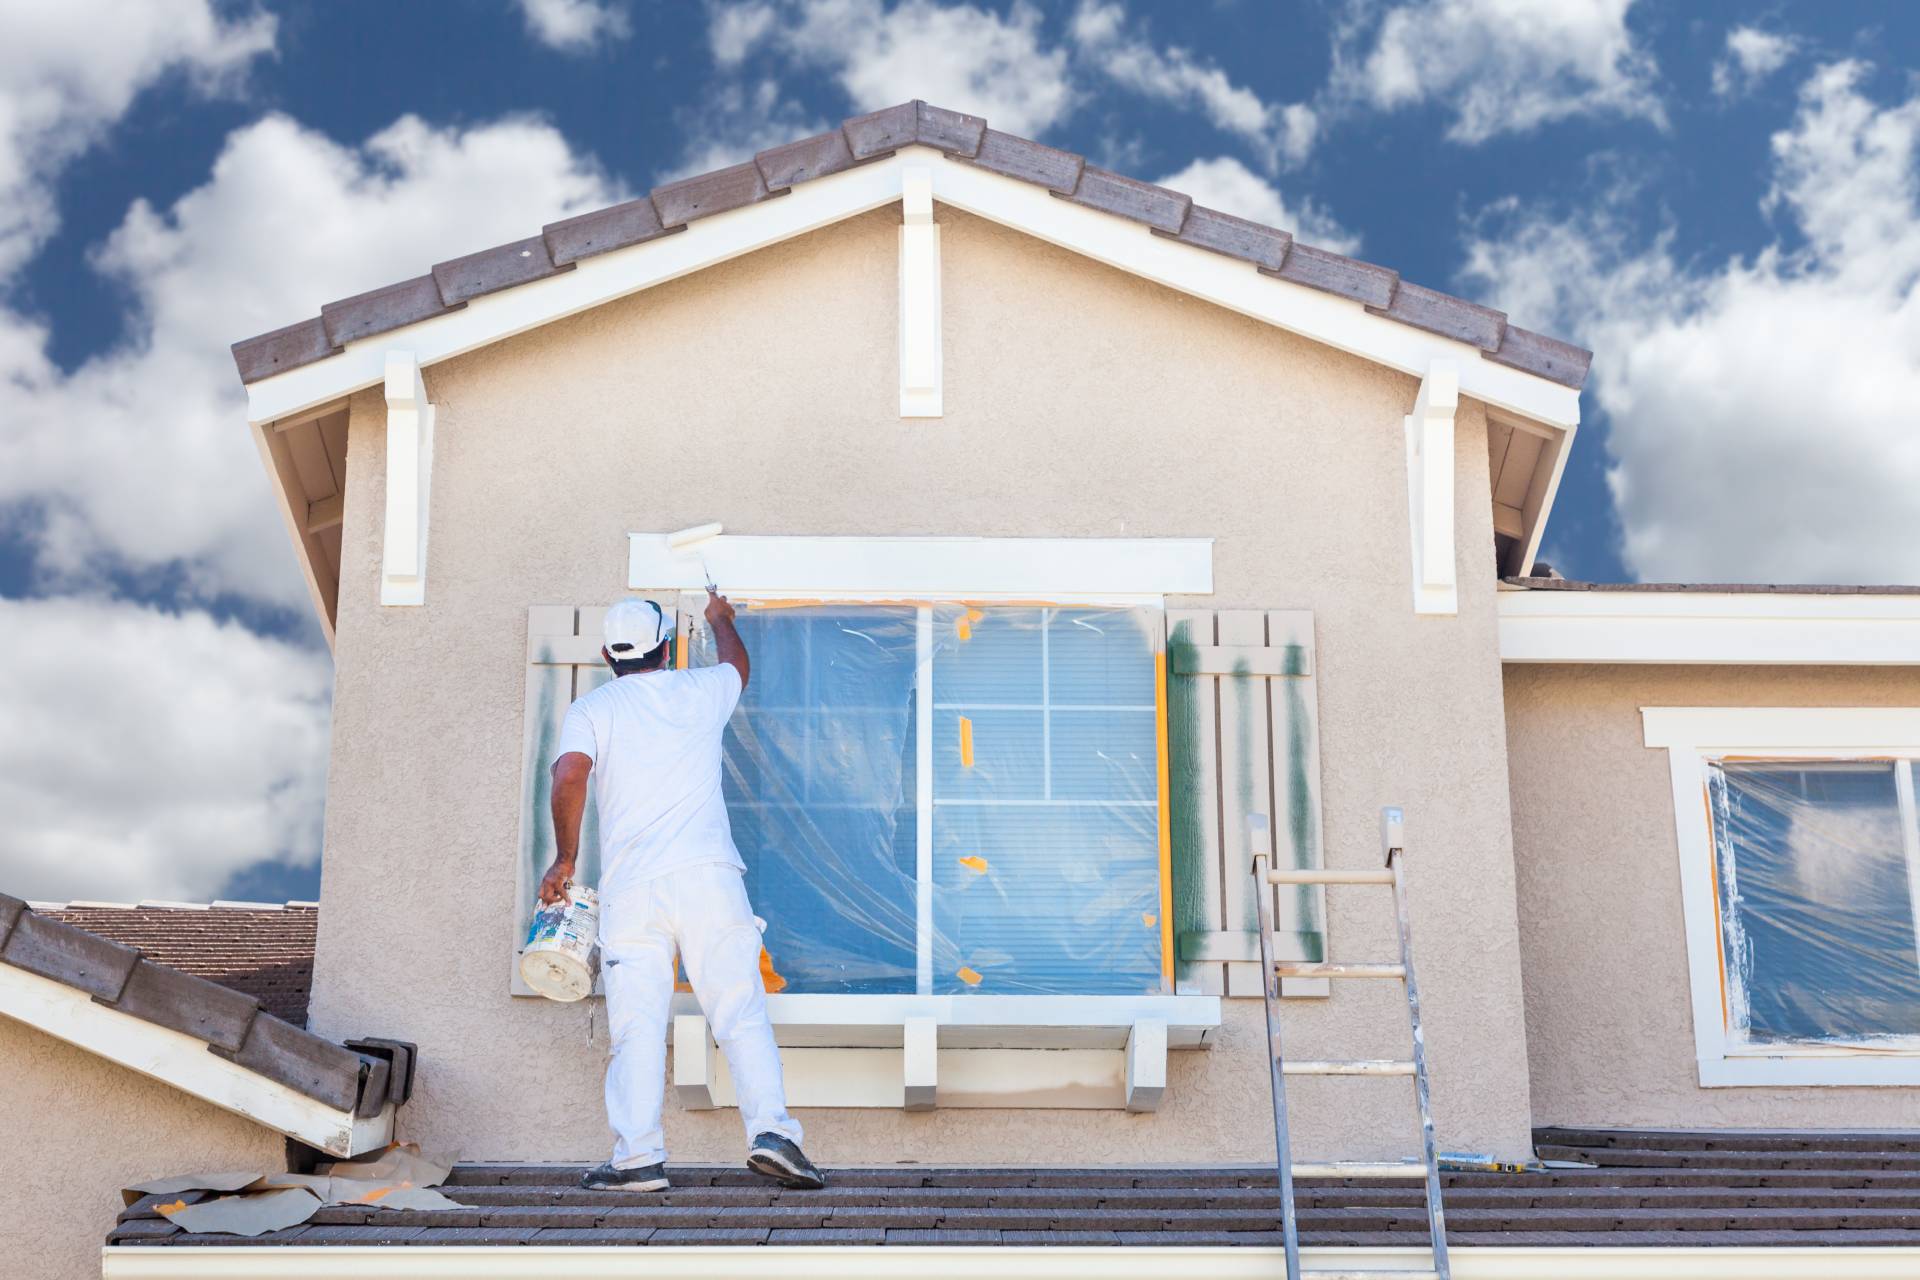
- Hire experienced professionals: Skilled painters understand the importance of prep work and won’t cut corners.
- Request a detailed estimate that specifies all prep tasks included, such as washing, scraping, repairs, caulking, and priming.
- Ask questions: Confirm how the surfaces will be prepared and what repairs will be made.
- Inspect during prep: If possible, walk the property with your contractor during prep to ensure thoroughness.
- Avoid low bids that exclude prep: Quality prep takes time and materials; suspiciously low prices often mean shortcuts.
Final Thoughts
Prep work is the unsung hero of any successful exterior painting project. It might not be the most glamorous part of the process, but it’s what turns a fresh coat of paint into a long-lasting, beautiful shield that protects your home from the elements.
Investing the time, effort, and budget in proper surface preparation pays off with a flawless finish, fewer maintenance headaches, and enhanced home value. When it comes to exterior painting, remember: The better the prep, the better the paint job.
If you’re considering painting your home’s exterior and want to ensure a professional and durable result, don’t hesitate to ask your painter about their preparation process. You can check out our
Interior and Exterior Painting Reviews on Google.